
Menu:
Dog Stuff
This page shows some dog related projects I worked on. The first is a dog poop bag holding clip (with files below to make your own), and the second is a wood dog bowl stand. Both of these projects were made using my Glowforge laser cutter.
Dog Poop Bag Clip
While going for dog walks, I realized it was annoying to carry the leash, several full poop bags, and a flashlight, so I thought it could be useful to have a device that carries the bags. There are some products like this out there, but I decided to design my own. I based the design around the snap fit features I had created for the Hexacopter project. I added features to guide the bags into the snap fit slot, features to help pinch the snaps open to release the bags, and a clip to attach it to a leash or anything with a loop or key ring style feature. Six of the designs are in the image below going in order from an early version to the final design I came up with.
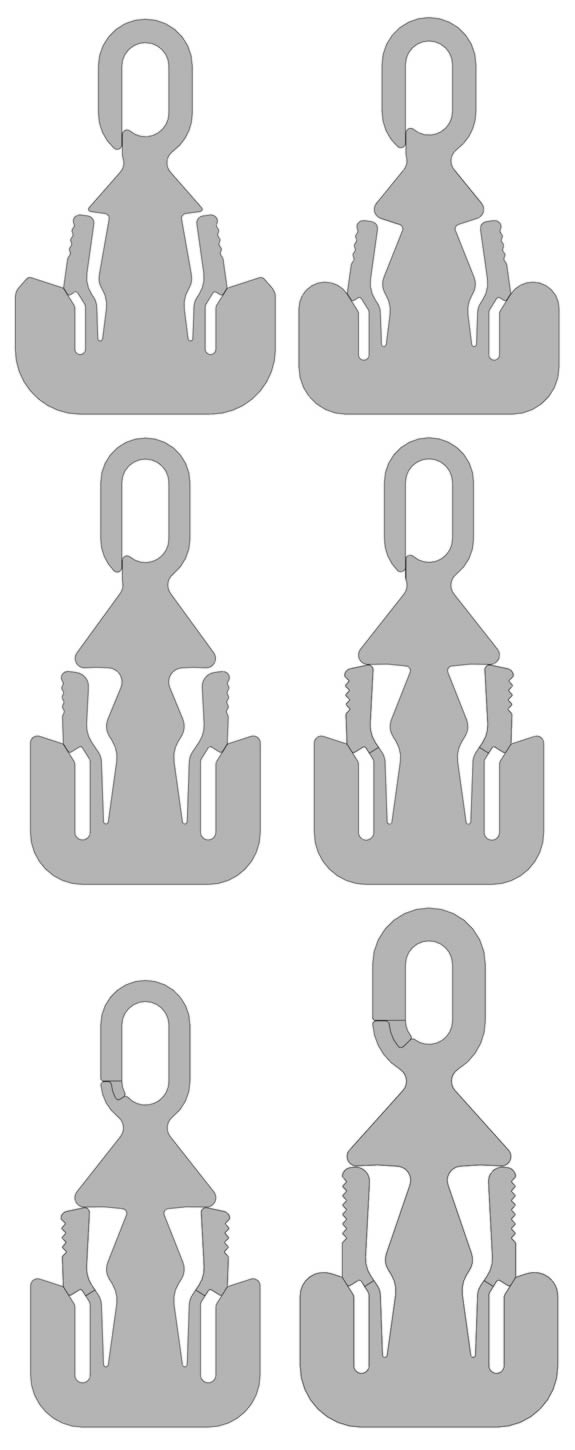
Some of the changes made through the design process were to stiffen the clip, and add a feature to keep it from pulling outward, so it would have to be twisted instead. The finger area was made taller, and the snap arm height was increased to accommodate two bags on each side. The lead in for the bag was made less sharp, to reduce the chance of tearing a bag. Finally, the clearance for the overhang above the finger area was reduced so you are less likely to put the bag in the wrong spot.
The last two designs above have extruded features over the snap fit intersection area and the clip feature. I added these so I could have the laser only make a single pass as it cut those features so they would be closer together (less material removed). In SolidWorks I don't think there is a way to have a feature with zero thickness, but with the added extrusion, I was able to make a PDF with a single line for these interface areas, and then just delete the other added lines that weren't needed.
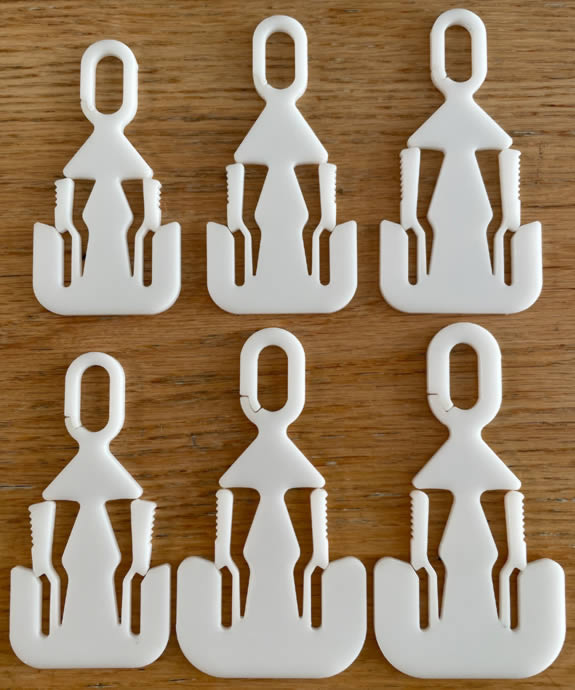
Images of some of the prototypes are shown below (not the same set as the design image above).
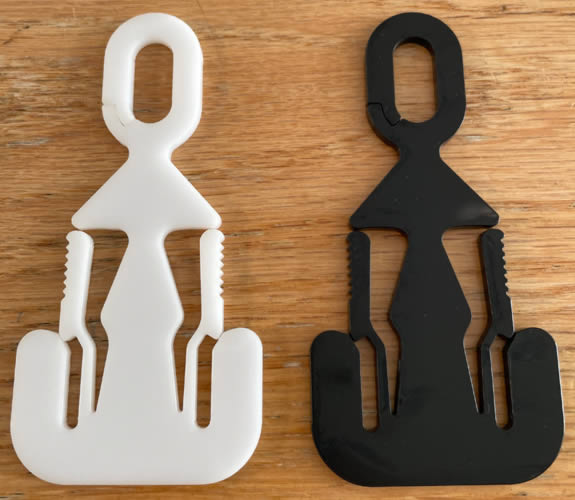
The final design in white and black acetal is shown below.
The twisting motion required to attach the clip to a key ring is shown below.
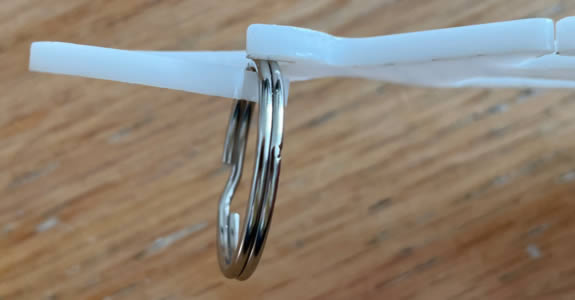
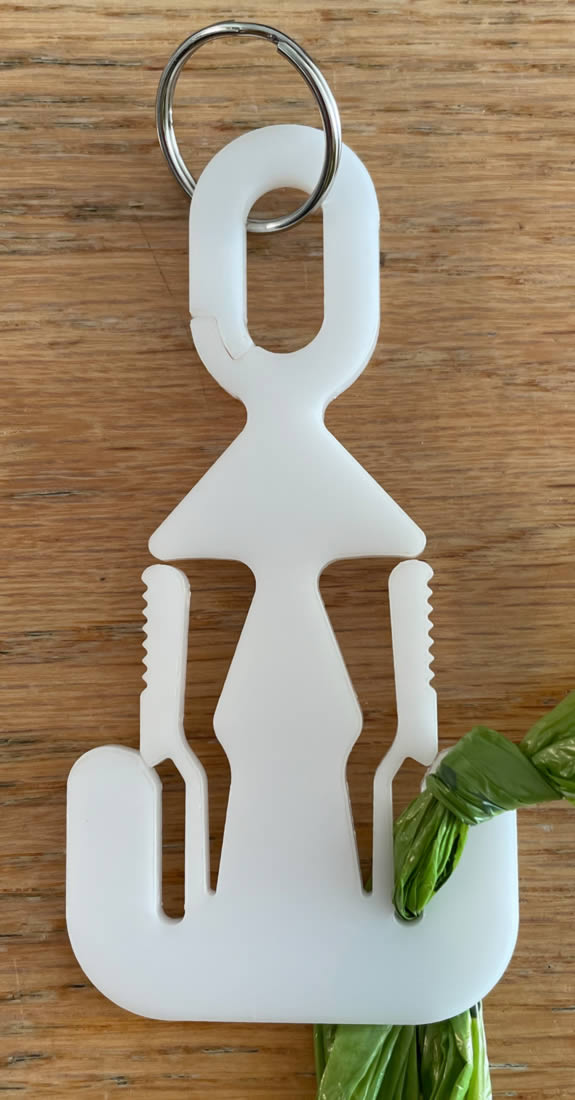
The final part with a key ring attached and a bag in place is shown below.
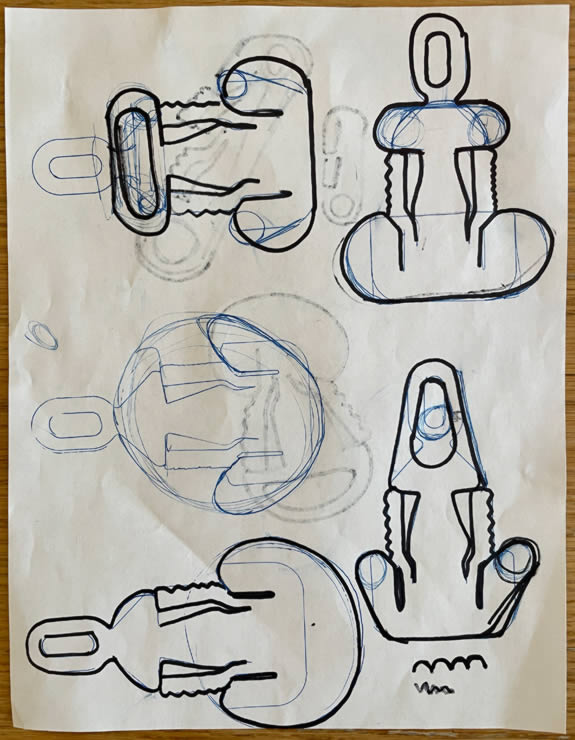
I worked on this project with an industrial designer, Daniela Boccoleri. She took one of my functional prototypes, made multiple outlines of some of the functional aspects, and then sketched over each one with a new concept. The image below shows a mushroom and multi-tool style concept, next to one of my prototypes.

The image below shows a few other concepts, including one we thought looked like an alien.
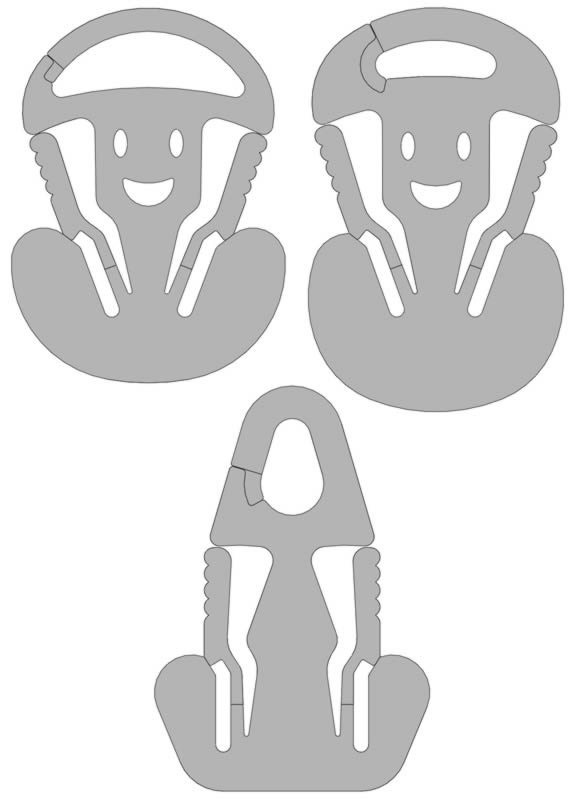
I decided to turn two of the concepts into prototypes. The screenshot below shows the first and final version of the mushroom design, and the final version for the alien design.
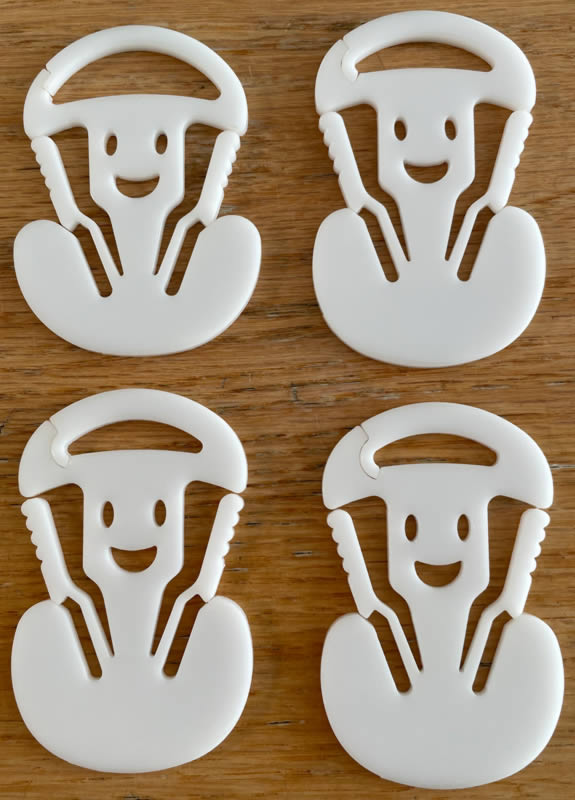
Below are some of the physical iterations for the mushroom design. Most of the changes were related to the clip feature and the bottom profile.
The final versions of the mushroom and alien designs in white and black acetal are shown below.
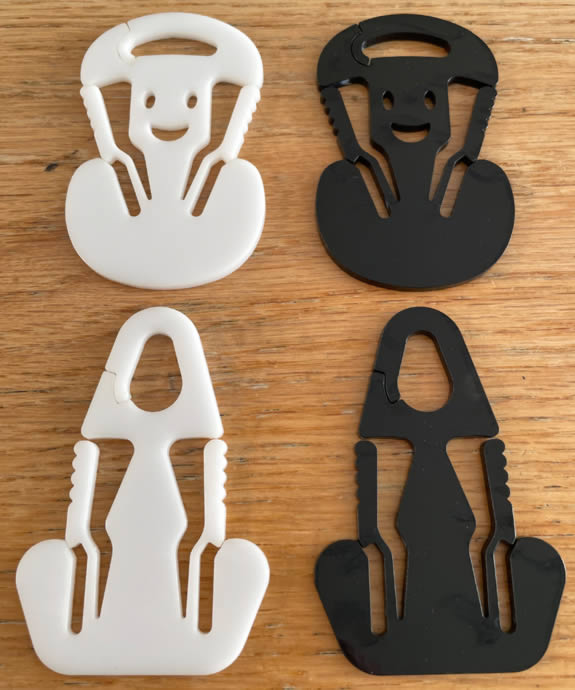
The files to make all three of the designs are below. The parts need to be made from 1/8" acetal (Delrin).
(Dog Bag Clip-Mushroom-v2 .pdf)
Collaborator: Daniela Boccoleri
Dog Bowl Stand
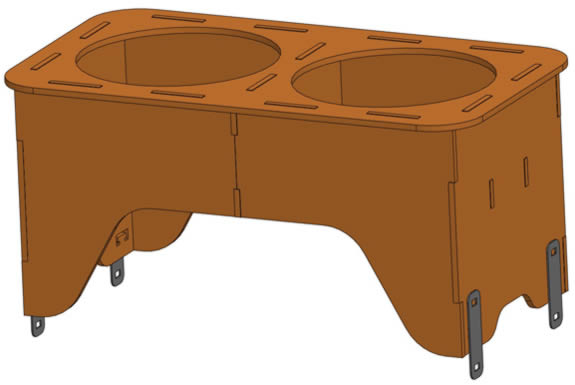
I also decided to make a dog bowl stand. I used walnut from The Wood & Shop Inc for the frame and silicone pieces to keep it from sliding around. The CAD design is shown below, with the silicone pieces modeled flat.
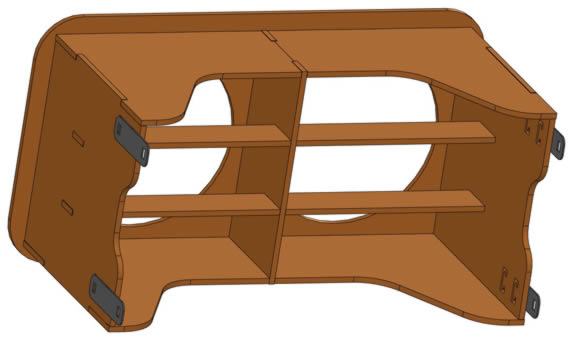
The image below shows the underside of the stand, with some additional support pieces in the center. The bowls I was designing it for had a lip to keep them on top of the stand. The support pieces were partially added so different bowls could be used in the future without a lip, as long as they fit within the opening and were a little taller so they wouldn't fall below the top surface.
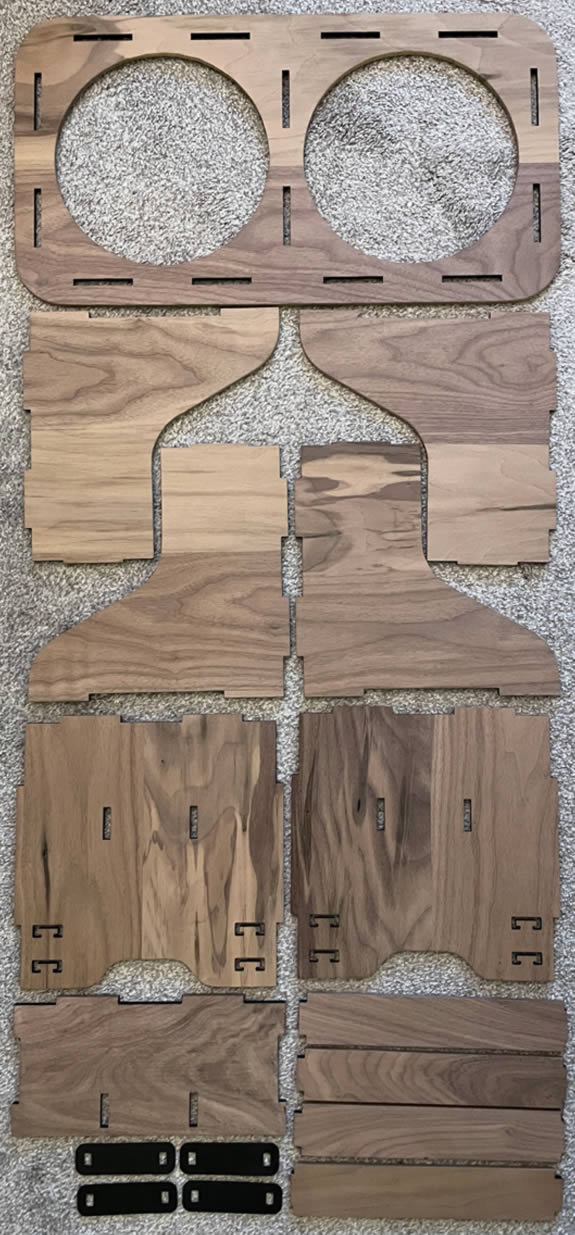
The image below shows all of the pieces after they were cut. The top part is the only one that I needed to use the laser cutter passthrough to make, because of its length.
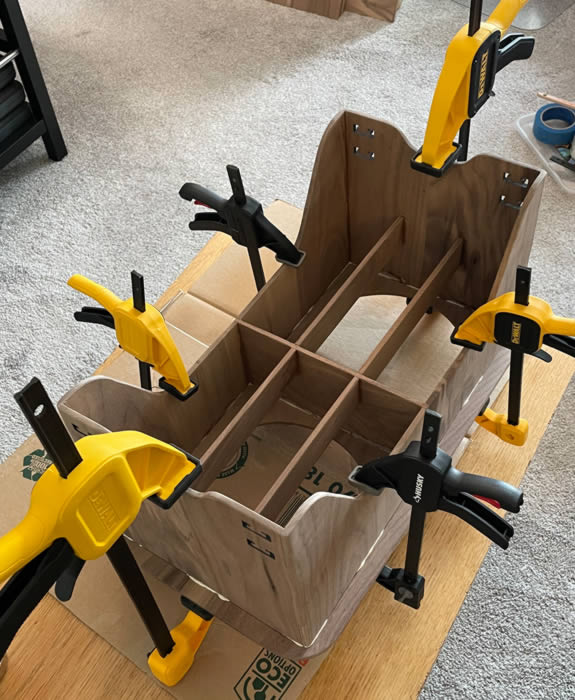
If I was going to make another one of these, I would put more thought into how all of the pieces fit together as they are being glued. It was very challenging to hold everything together and square with the clamps I had, especially considering how fast the glue started to set. More clamps probably would have helped. The image below shows the stand during the final gluing step.
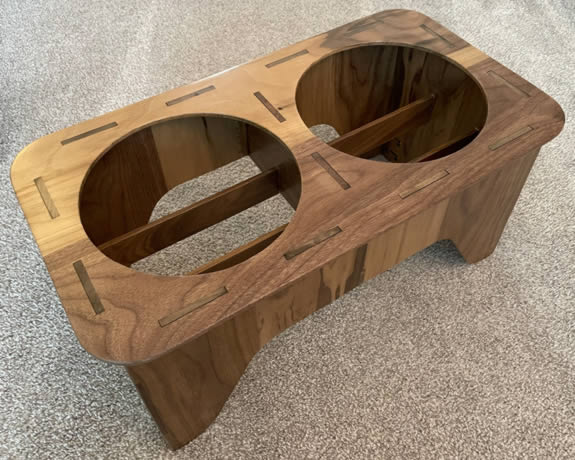
I designed all of the tabs to be long, so they wouldn't show char from the laser cutter after they were sanded flush. I ended up having to add epoxy to fill a few holes in the wood before coating the stand in polyurethane. The finished stand is shown below after being sanded and coated in satin outdoor polyurethane.
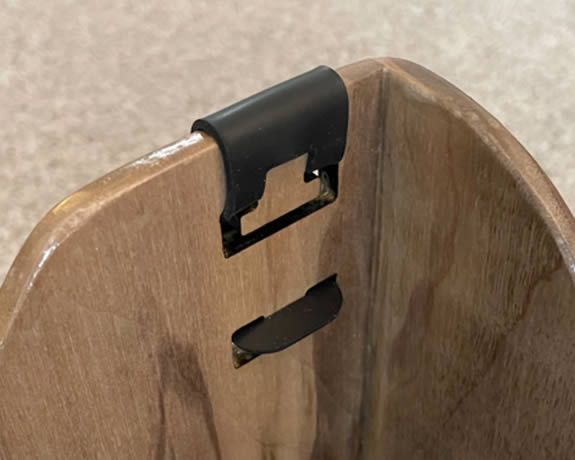
The silicone pieces get stretched over the bottom of the stand, and each attach to two tab features in the wood, shown below.
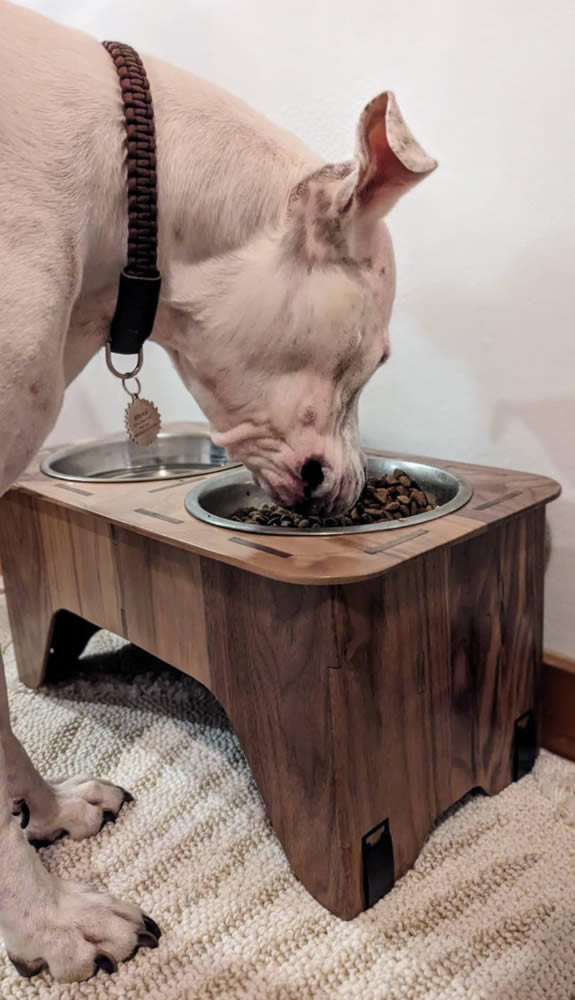
Briar thought the stand was acceptable.
Page created: 2024