
Menu:
Foot
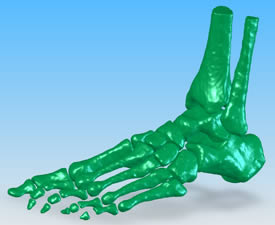
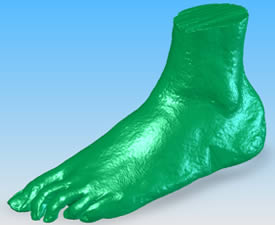
For the final project in ME 498N (Advanced Topics in Rapid Prototyping) my team decided to create a 50% scale model of a human foot using two different rapid prototyping technologies. The bone structure and outside skin model came from Professor William Ledoux as .STL files. An image of each file from SolidWorks is shown below.
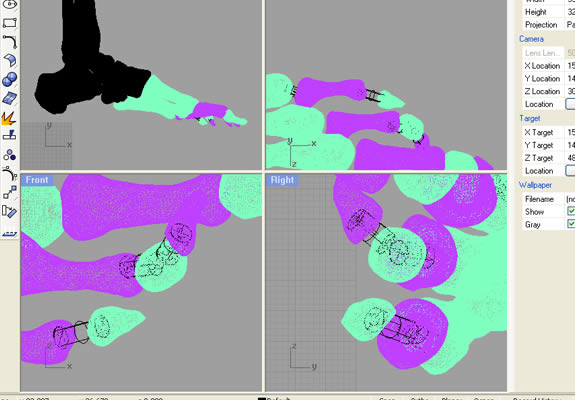
The .STL files could be opened in SolidWorks, but not modified. This was a problem for the bone structure file because each individual bone would be loose after the part is printed and the support material is removed, this would make it almost impossible to suspend the bones in the correct location inside of the foot. A program called Rhinoceros 3D (Rhino) was used to modify the bone structure file; small cylinders were added between each bone so they would stay in place after the support material was removed. The image below shows the bone structure in Rhino after the cylinders were added.
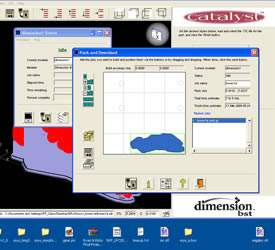
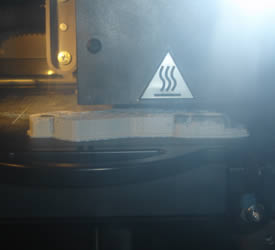
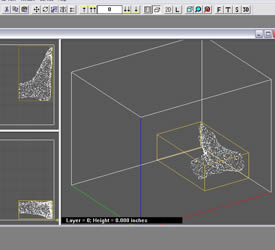
The bones needed to be built from a rigid material, so the Stratasys Dimension 3D Printer was used to create the bones from ABS. The images below show the file just before printing in the Dimension software as well as an image of the part during the build.
The bone structure took seven hours and five minutes to build. The image below shows the bone structure after the lighter colored support material was removed.
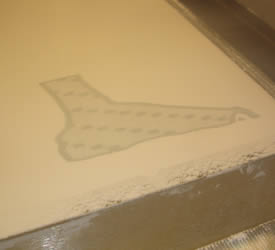
The second part of this project was to create a mold from the outside skin file. The foot was printed using a Z Corp 3D printer. Below is an image of the foot in the Z Corp software followed by an image from partway through the printing process.
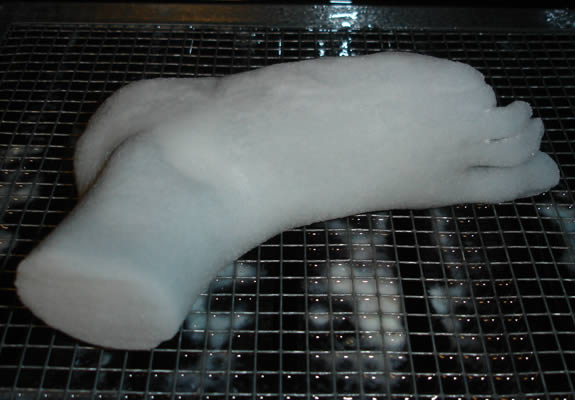
Powdered sugar was used as the print material to minimize printing costs. The foot was printed in just over one hour and two minutes. After the foot finished printing and was removed from the powder bed, it was wax infiltrated to increase its strength prior to making the mold. An image of the foot after wax infiltration is shown below.
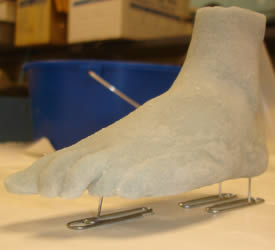
The foot model was suspended using paper clips, a mold box was built around the foot, and then a silicone rubber called Smooth-On OOMOO 30 was poured around the foot. After the OOMOO had set, the mold was cut open so the foot could be removed and the bone structure could be inserted. An image of the foot on paper clips is shown below next to the mold with the bone structure being inserted.
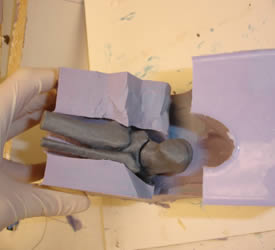
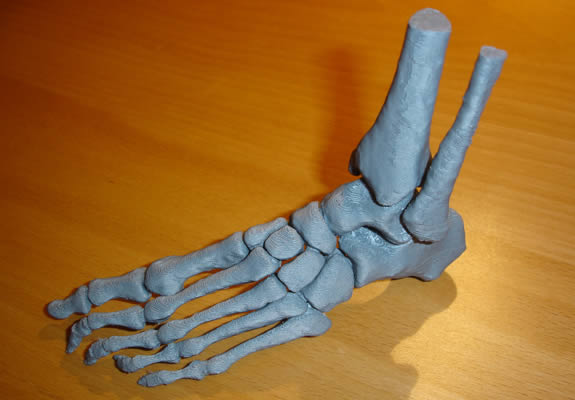
The bone structure was held in place with a pair of locking pliers connected to the part of the bone structure that would stick out of the mold. A translucent urethane rubber called Smooth-On PMC 121/30 Dry was used for the outside of the foot. This rubber was chosen so the bones would be visible from outside of the foot. An image of the final part is shown below.
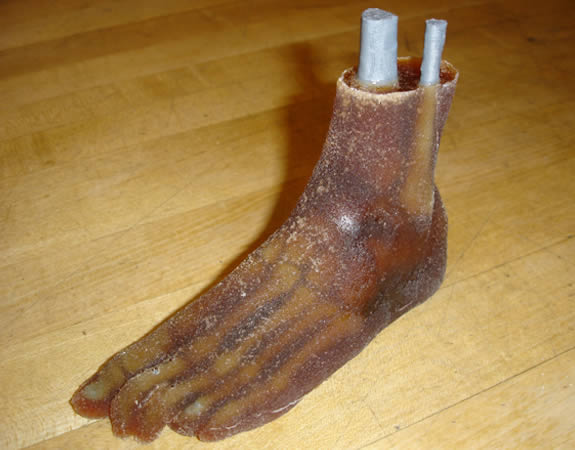
The overall shape of the foot came out very well. The only problems we had were bubbles caused during the urethane rubber mixing process, and we had also hoped that the rubber would be more translucent.
Team member: Jacob Hiester
Page created: 2010